What’s the best way to maintain optimal product flow in your pipeline and maximize return on your investment? Tell us your challenges and we’ll help you find the solutions.
What’s the best way to maintain optimal product flow in your pipeline and maximize return on your investment? Tell us your challenges and we’ll help you find the solutions.
What’s the best way to maintain optimal product flow in your pipeline and maximize return on your investment? Tell us your challenges and we’ll help you find the solutions.
Product Group :
Product Brand:
Technical Specifications :
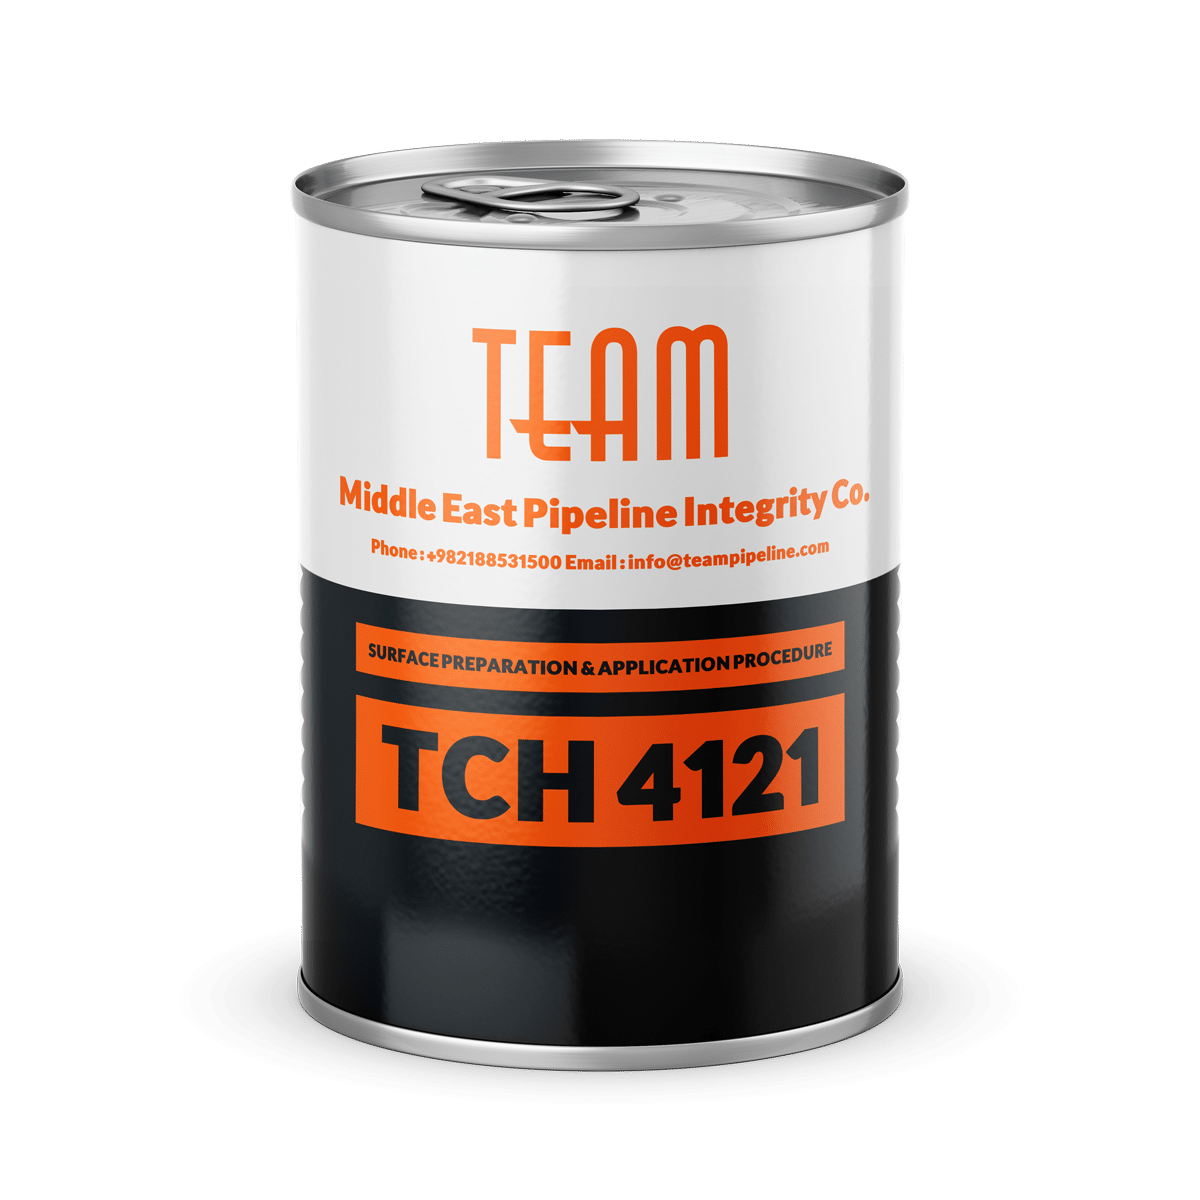
Descriptions :
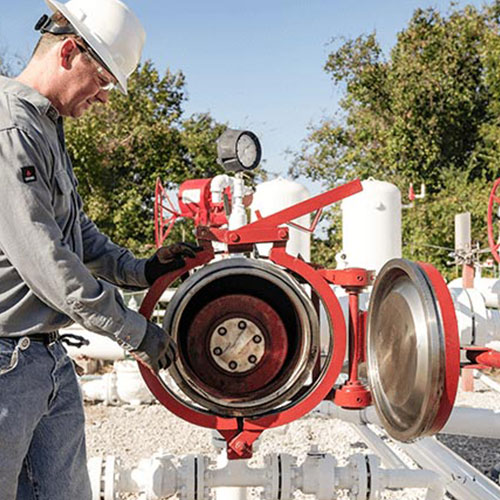
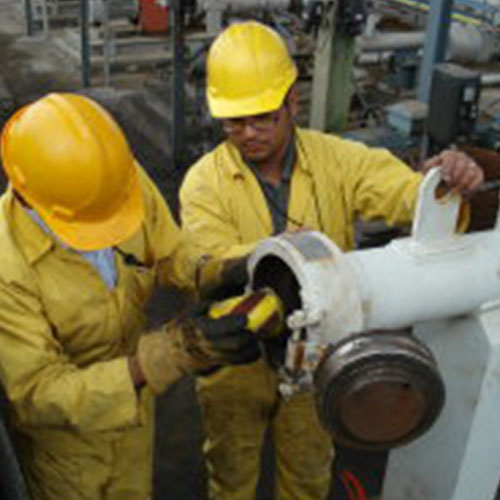
Compound injection (leak removal):
It is very useful in preventing environmental and economic damages and damage to gaskets, lines, valves, pressure vessels and other connections and equipment under pressure.
You can store team company compounds for 3 years at a temperature of less than 30 ° C. our sealant are supplied in packs of 10 in the form of 9 cm tubes with a diameter of 18 mm suitable for injection. Residual sealant can be stored in water for 3 months after opening the package.
Industrial adhesives:
Team Company is a supplier of various industrial and special adhesives that are supplied by reputable manufacturers. our business unit has been able to offer a wide variety of adhesives in order to meet the needs of esteemed employers.
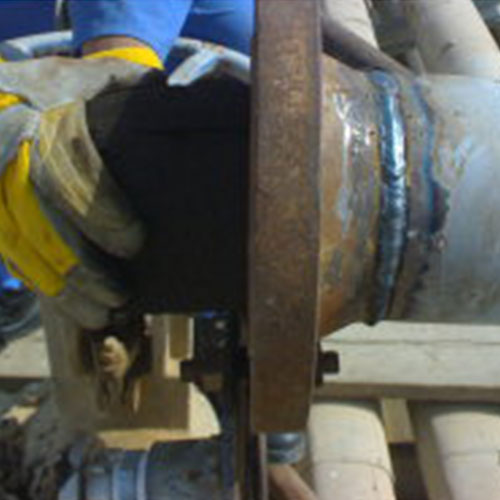
Wrapping:
These products use the latest technologies in the world and are used in leak removal operations that have suitable conditions: Its advantages include increasing the speed of leak removal operations and reducing costs significantly. These tapes are offered in various types according to your needs. These coatings can be used to eliminate online leakage up to a temperature of 200 ° C and a working pressure of 20 times. These products are suitable for repairing leaks from GRP, C.S pipes and all kinds of materials. Contact the sales department for more information.
FAQ
Media
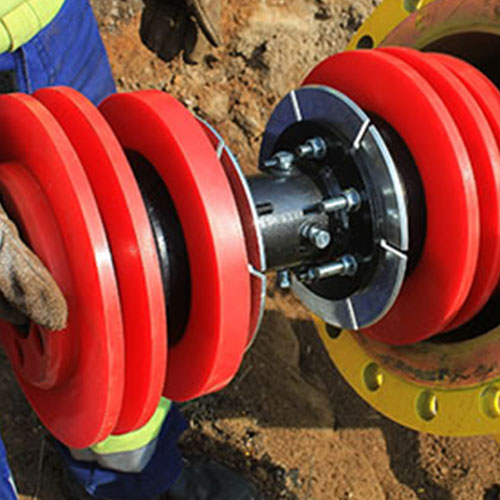
Other pigging equipment
Variety in providing repair services has made this company the only Iranian company providing Pipe Line Total Integrity services.
Accuracy in providing quality services and products as well as attention in attracting customers’ satisfaction and meeting their needs, speed in responding, providing new and appropriate solutions, reasonable prices compared to foreign and sometimes Iranian competitors, high sense of responsibility of employees It is one of the most prominent points of this company in terms of assigned tasks and having specialized personnel.
We are always looking for top talent to join our team.
Are you ready to start an exciting career with a leading company?
فرم درخواست تجهیزات
Equipment request form
فرم در خواست خدمات
Request services Form

